VR - Room Resources
7 files
-

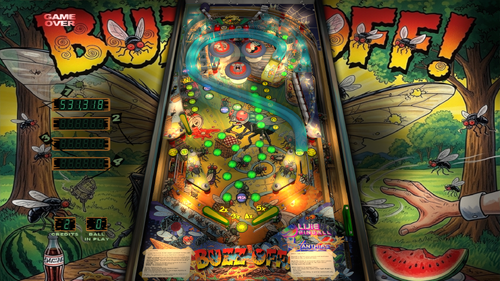
Simplest VR Wheel Topper Template
By PaulDrummond
Generic Wheel Topper
In Paint.net format cause i am cheap but easliy converted. 😉Starting point co-ordinates included. Add logo upfront to make 1 complete image. Goto image manager and import image. Add a flasher and name it, right click on flasher, set its x scale to 3 (untick Square scaling). Edit -> Select element -> What ever you named flasher and setup as per included image and adjust position as required per table. Dont forget to select your image as image 1.
3 downloads
(0 reviews)0 comments
Updated
-
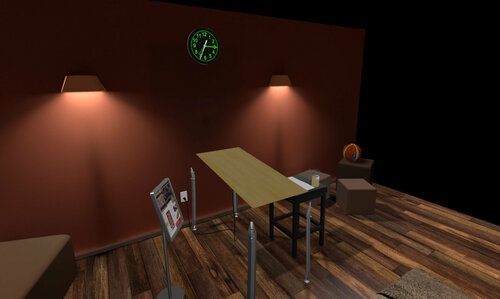
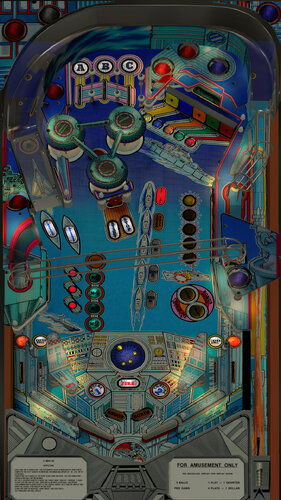
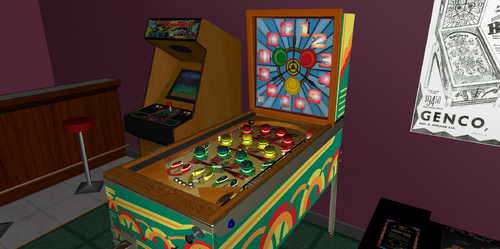
Simplest VR Room
By PaulDrummond
Simplest VR Room
Round floor mesh and simple texture image that give the feeling of being in a round display room making the table the focus of attention. My tables perform better, and i experience less eye strain/fatigue.
Simply add a primitive with the Floor_Plane.obj mesh. Add the Floor_Plane_Texture.png in Image Manager and setup the settings on the Primitive as shown in screenshots. Turn off any other VR objects in tables scripts.
20 downloads
(0 reviews)0 comments
Updated
-
HOW TO: Create a VR Room from a blender 3d model
By DaRdog81
Have you ever wanted to create a VR Room for VPX but did not know where to start?
In this (non)exciting tutorial, i will guide you through the process of transforming your Blender model into a fully immersive VR room.
Follow along with my instructional video and unlock the secrets to crafting a jaw-dropping VR Room right from your imagination (Grok AI came up with that line haha)
This guide will have you playing in your custom VR masterpiece in no time.
11 downloads
(0 reviews)0 comments
Submitted
-
VR PinCab & Minimal Room Template Toolkit v2.2
By DaRdog81
PinCab Template Toolkit v2.2 (Thanks to Sixtoe for permission to mod!)
I tried to make adding a VR cab and VR minimal room as user friendly as possible.
Goal: Add a basic VR cab and basic VR room in less than 5 minutes, guaranteed!* (*not really guaranteed)
You can pick your vr cab template (9 options), pick your vr minimal room (2 options) and then enjoy VR, you are now a vr ninja!
Not discussed here: Lot of vr tinkering (and some scripting) to make it perfect.
Forgot to discuss in video: To enter live view editor I use vpx-gl, under vr settings make sure vr mode is set to disabled, once table is loaded press the q button, choose live editor and finally using the mouse scroll out to get a 3d view.
Updates in this version:
Organized everything as user-friendly as possible, most vr components now separated for easy material/color changes. Floor and cab legs are now level (no more 3 degree tilt, RAWD will be happy)
Follow the instructions here:
216 downloads
(7 reviews)0 comments
Submitted
-
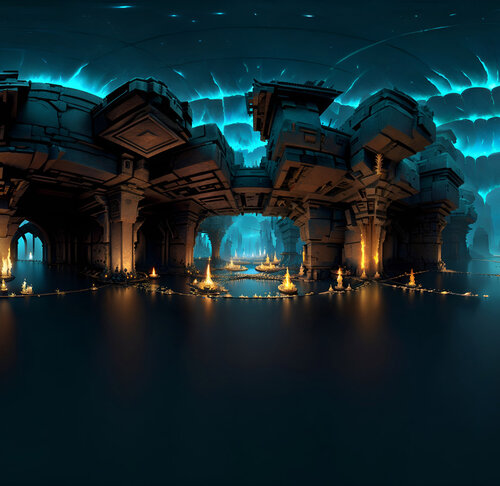
vr skybox Water Dungeon
By Gravy
Experimenting with Ai creation of 360 VR Skybox using https://skybox.blockadelabs.com/
Output image has been first upscaled by 200% by an Ai upscaler and then downscaled to 4096x2048
Would be suitable for any dark or medieval themed table such Medieval Madness, Black Knight etc.
If there is any interest in me creating more or if you want one to suit the theme of a particular table then let me know. Or have a try yourself and add to the community resources.
41 downloads
(0 reviews)0 comments
Updated
-
EZGrab VR Room
By Rawd
This is a package I put together to easily grab all of the components from the Basti VR room along with a couple of upgrades and additions.
THIS DOES NOT INCLUDE A CABINET.
Watch instructional video for easy transfer instructions..
NOTICE: ** If you decide to use this room and release a VRRoom with it at one of the sites, please do not forget to credit Basti for the excellent original artwork and models for this room. THANKS!
Enjoy!
233 downloads
-
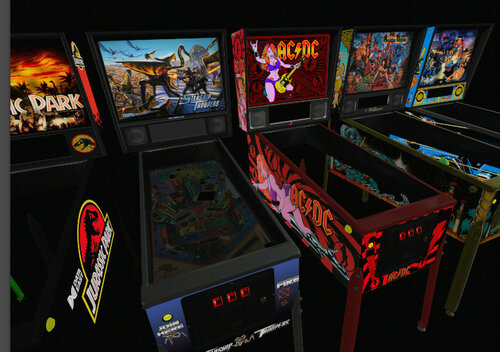
PinCab Template Toolkit
By Sixtoe
In my ongoing quest to champion VR in VPX I've updated my template tables to make it *even easier* to add a minimal impact VR cabinet and room to VPX tables.
Included are full tables, separate primitives, required materials and artwork templates.
Thanks to;
3rdaxis: Original detailed Addams Family pincab model
Flupper: Remodeled and simplified pincab from TOTAN
******************************************
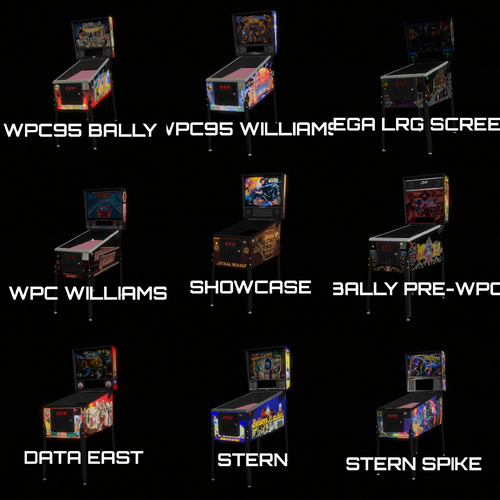
A set of plug and play PinCab templates and primitives for use in VR, currently for;
Bally Pre-WPC (Black Rose, Dr Dude etc. - Speakers on top of backbox)
Bally WPC95 (Cactus Canyon, AFM etc. - Bally logo, 3d speakers.)
Data East / Sega System 3 (Jurassic Park, Hook etc. - Simple DMD area, artwork speaker grills, 3d speakers)
Sega Showcase (Starship Troopers, SWT etc. - Showcase logo, 3d hard speakers, some artistic license as the real backbox has no sides)
Sega Large DMD (Batman Forever, Baywatch etc. - Large DMD with art, 2D speakers.)
Stern (All older DMD tables - Plan DMD, Square 3D Speakers, some artistic license)
Stern Spike (Guardians of the Galaxy etc. - Large DMD area, 3d speakers)
Williams WPC (Judge Dredd, No Fear - Artwork DMD area, 2d speakers.)
Williams WPC95 (TOTAN, Medieval Madness etc. - Williams logo, 3d speakers.)
***********
How to use
***********
Open the VPX table you want to add a VR Cab/Room
*Optional but recommended* - Clear Layer 11 on your VPX table for all your VR stuff.
Open the VR Template table of your choice *in the same VPX window* (i.e. DO NOT open another instance of VPX)
Select the VR Template window and drag select all items on the VR Template table and "Copy" it.
Select VPX table window and "Paste" it, hopefully everything should land on layer 10/11.
Either export the materials from the VR template or download the materials file and import them to the VPX table.
Export the images from the VPX table, then edit them with whatever artwork you are going to use and import them to the VPX table (or just import them to test and do the artwork later).
****************************
How to adjust to fit your table
****************************
All primitives (apart from Bally Pre-WPC) have the same origin / control point, so you should always adjust every primitive together (including the room, floors, walls etc.)
Drag select all the primitives on Layer 11
Adjust the X / Y base position to move the primitives so that the top edge is aligned with the back of the glass holder and the left side blade is flush with the left table edge. (These will not move when the below adjustments are made)
Making the ZSize higher will make the table longer (adjust so that the bottom of the apron is flush with the lockdown bar)
Making the XSize higher will make the table wider (adjust so the right blade is flush with the right side table edge)
Adjust the Z base position so that the cabinet and room are sitting at the right height.
If a pincab has Grills they *must not* be static so they can be seen through.
You should now be good to go!
***************************
How to use the artwork files
***************************
Open the Artwork templates in GIMP, Photoshop or your tool of choice (I use GIMP because it's free, great and I've used it forever).
The cabinet one is very straightforward, paste your artwork in and make sure the "Front" of the cabinet has the middle cut out so you can see the start button, so it's textured correctly. It does look better if you can photoshop out the original start button and the plunger, at least enough that it's hidden by the real plunger/button.
The backbox has numerous layers for different DMD's, it again is fairly straightforward.
However, if you are using the 3D speakers you need to make sure the original speakers are visible.
Try and use the highest res possible, a good resource for high quality pinball cabinet photographs is the pinside for sale pages. Take your time, learn your paint programme, or if you've found the artwork and struggle with the paint programme just contact me and send me the artwork and I'll do it (finding high quality artwork is the hard part!).
Save the art in jpg at max quality, its nearly always significantly smaller than a PNG, loads faster and there is no loss in image quality. (apart from the grills, which have to be PNG's as they're see through!)
*****************************
Explanation of the primitives
*****************************
Layer 10 is the DMD and Logo.
Layer 11 are all the primitives.
In "VR Room Xtras - Primitives.zip" there are a complete breakdown of primitives and lots of combinations, so you can colour your pincab and it's metals appropriately. Just make sure you only have one of each "thing" showing (i.e. don't use coindoor *and* coindoor_hinges, as you'll be doubling up on coindoor polys for no reason)
This is a just a small list of some of the combinations;
-
PinCab_Backbox_Plain
Totally flat and blank DMD area, used by Williams WPC (Dredd)
No 3D speaker effect, does not use speaker grills.
-
PinCab_Backbox_Stern
Rounded Square 3D Speaker, used by Stern (ACDC)
Must be used with;
PinCab_Speaker_Grills_Stern and stern backbox template.
-
PinCab_Backbox_WPC95
WPC95 3D Speaker shape, used by Williams & Bally WPC95, Sega Showtime & Data East
Must be used with;
PinCab_Speaker_Grills_WilliamsWPC95 and their correct backbox template.
-
PinCab_Backglass
The backglass translite **The image MUST be called "BackglassImage" if you want VPVR to be able to capture external backglasses and show them inside VR**
-
PinCab_Blades
Sides for inside of the cabinet.
-
PinCab_Bottom
A base for blocking the view of the carpet for playfield which have holes or transparencies, might need it's Z value dropping if the table has a lower playfield.
-
PinCab_Cabinet
Simple cabinet, start button, coinlogo, playfield glass holder
-
PinCab_Flipper_Buttons
A pair of buttons, optional as they're complicated objects, set colour with materials.
-
PinCab_Metals_Legs_Rails_Fittings
4x legs, rails, leg screws, doorlock, feet.
Metalwork for most normal pinball machines.
-
PinCab_Metals_CoinDoor
Coindoor
Used for most machines, use material "black_powdercoat" normally
-
PinCab_Metals_Legs_Rails
4x legs, rails.
Use for things like ACDC Luci & AFM SE where the rails and legs are powdercoated a specific colour.
-
PinCab_Metals_Fittings
Leg screws, doorlock, feet, use material "metal"
Use with PinCab_Metal_Legs_Rails above to have normal "metal" fixings.
- PinCab_Metals_Complete
Complete set of all metals, including coindoor, legs, rails, fittings
Used for TOTAN, use materials to colour, "metal" or "gold" etc.
2964 downloads
-
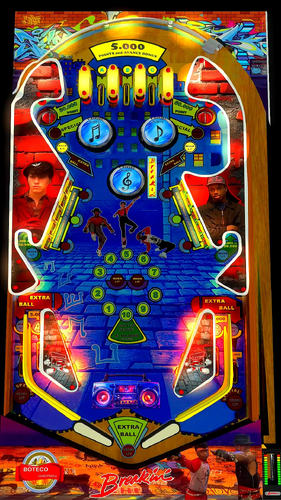
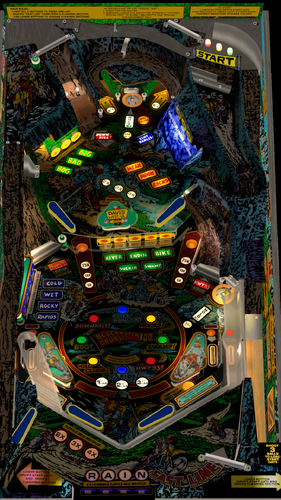
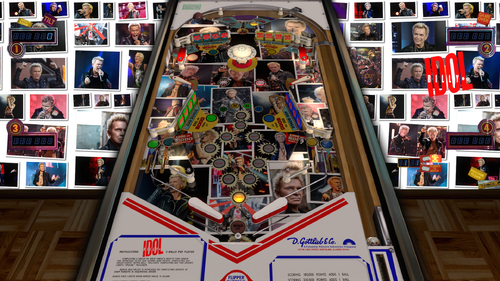
VPU Staff's Top Picks
-
New & Updated Visual Pinball
-
New & Updated Future Pinball
-
New & Updated Backglasses
-
New & Updated DMD Colorizations
-
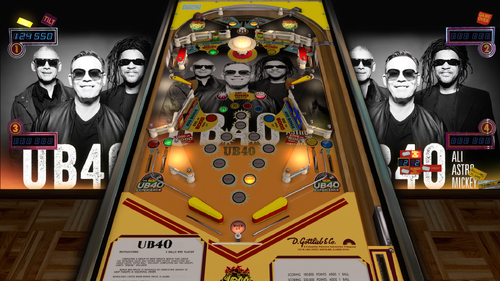
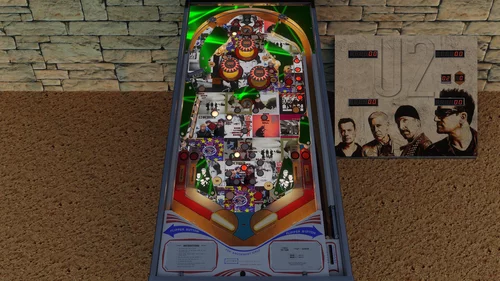
New & Updated Virtual Reality Enabled Tables
-
VPU Remix & Mods
-
New & Updated Popper Media
-
Updated Files
-
Download Statistics
29274
Files104235
Comments42985
Reviews

RHP.thumb.png.1c165452af06acdc89a6b1e659e677e2.png)
RHP.thumb.png.5ba393177b717a4843c23ced731c33ae.png)

(v1.0)TableImage1.thumb.png.d7489b5fdf6028cc1a51ebf977e4278e.png)
.thumb.png.d2d01402c8668cf4ea77f283cd16a7a3.png)
.thumb.png.7e39b856c278aa2d29655796dbfad341.png)


.thumb.png.f53cb093f5d7fff494df50b776000fbc.png)
.thumb.png.35c418ea7c141a2a5682927da5bf2255.png)

.thumb.png.1f189df6ca20ea112ca726d69bbfa021.png)
.thumb.png.26244a5180bc705732fed3fabcbb8fbe.png)


.thumb.png.07ec1fb21613336aecbc4b13f0d5ef39.png)

.thumb.png.fe57fddb7770282f6016646c996c293f.png)
.thumb.png.cf73dbdbdc5b8f54b1a834d0b8b79185.png)
.thumb.png.035672ef7931d59c3dc684ea83f1bceb.png)
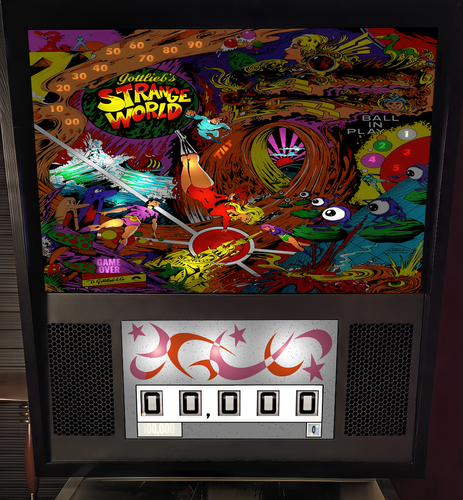
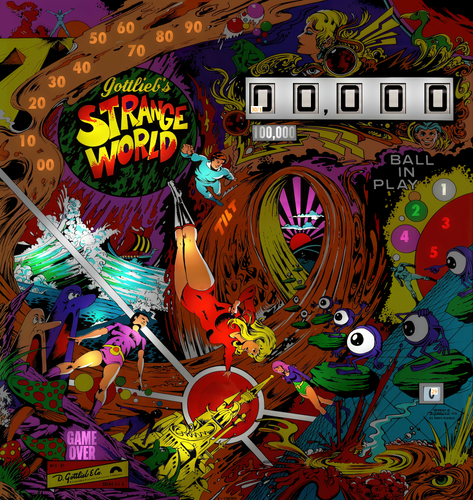
Screenshot.thumb.jpg.8acdcddadad40fe53df26460fb902dd6.jpg)
.thumb.png.d0452c389d44e83be0d879d70d42c6d4.png)
Screenshot.thumb.jpg.37e9d9318702d5be4bbcef1f48c3ef2b.jpg)
Illuminated.thumb.png.0b0bb13f233a07cacca0ba9aec403a17.png)


Remastered.thumb.png.241a9e3f9aba03127b423831ba4331c6.png)
.thumb.png.c28167bd9fa75cc901a124aae26f9aa6.png)

.thumb.png.7e34a8d00698d63e1620726792f48bda.png)

FullDMD.thumb.jpg.c71f17baf11ce6b38bde45eaa5bf0c46.jpg)
PuPPackOverlay.thumb.png.49159321dd66b769678b690265fc99cc.png)
PuPPackFullDMD.thumb.jpg.56154656ae2a1a72ebd641519736ee95.jpg)
FullDMD.thumb.png.526962a74f38fd3ca061f38d9631546d.png)
FullDMD.thumb.jpg.48db4b8bd4c41291e0f83f902aae1db5.jpg)
.thumb.jpg.c449a2738dd95e812e105db2a8225273.jpg)
PuPPackFullDMD.thumb.jpg.beb7d6243600b09f213964c42b9b1ef8.jpg)
PuPPackFullDMD.thumb.jpg.3c961320c734b99e4de6b3b3dfdbeb3c.jpg)


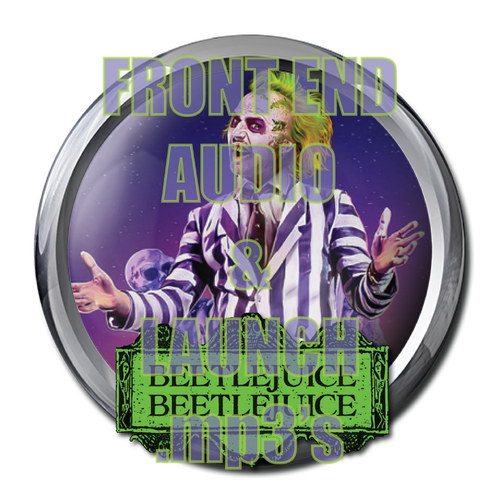

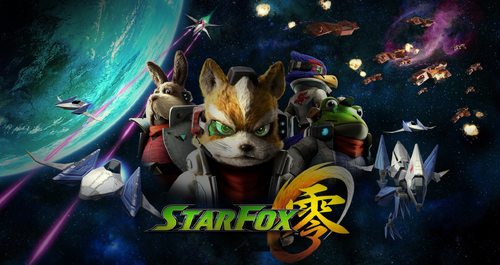
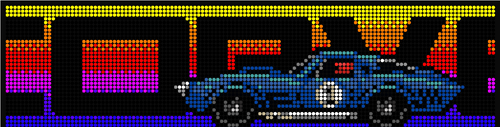
Wheel.thumb.png.b268b471403be5b9790b2cdd01e62ff2.png)
PuPPackWheel.thumb.png.d5a8773ad51620a41228f8d0e5069904.png)

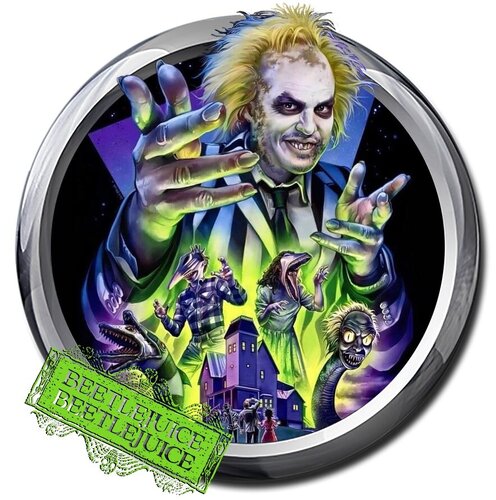
PuPPackWheel.thumb.png.4d1afff9ac204da059b7f84ff67d572f.png)
Wheel.thumb.png.e9136c7ff8d1ab7fb3b33d3015b2de09.png)
.thumb.jpg.4771fb7b428d850df0714f097aaec8d4.jpg)
.thumb.JPG.01af778416d22055a266fa87f804896d.JPG)
Wheel.thumb.png.3b730cf6539bb36db702550fd70e13b0.png)