
Note:
This is a beginner's tutorial. You may already know all this.
This may be useful for you, then again, maybe it's only for my specific weird setup.
You need:
- PuP Packs set up
- FFMPEG (download it here: https://www.ffmpeg.org/download.html)
- Optional: PhotoShop or similar
- Optional: DMDExt set up
Backstory:
I have a 7 inch 1024x600 monitor that I use as my DMD screen. I also don't like too much flashing moving stuff on my cab to distract me from the playfield, so I don't generally use PuP-Packs - but I do have a few, so I have the framework set up on my cab.
Most available FullDMD videos look great, and they feature a nice framed window for the DMD. But that window is a lot smaller than the width of the screen, and since my monitor is very small to begin with, I really don't want to shrink the DMD any further. Generally, run my DMDs at 1024x256 pixels, centered in the middle of the screen, so I have no need for a frame.
Part 1: The image
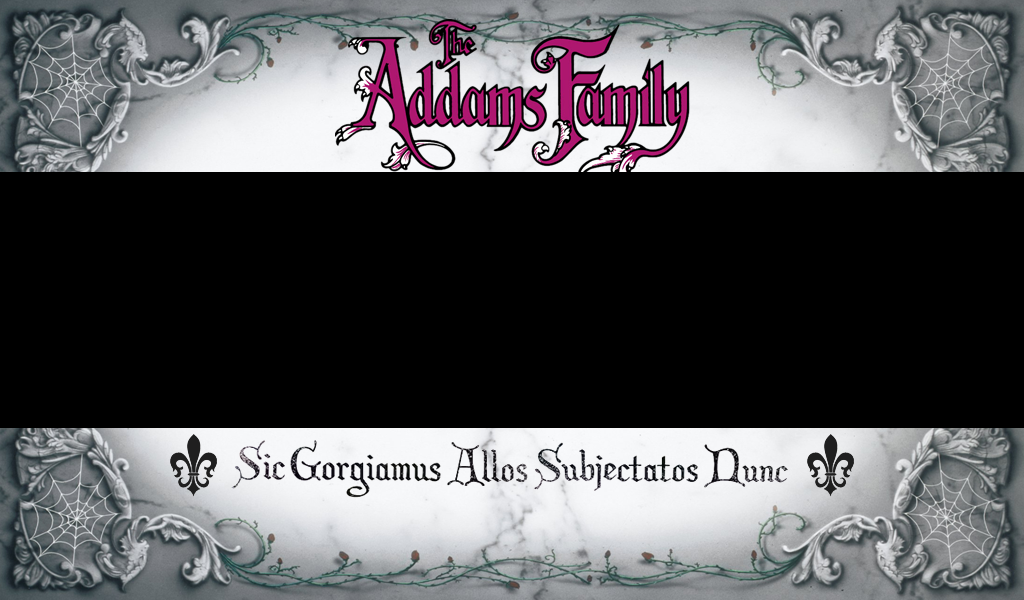
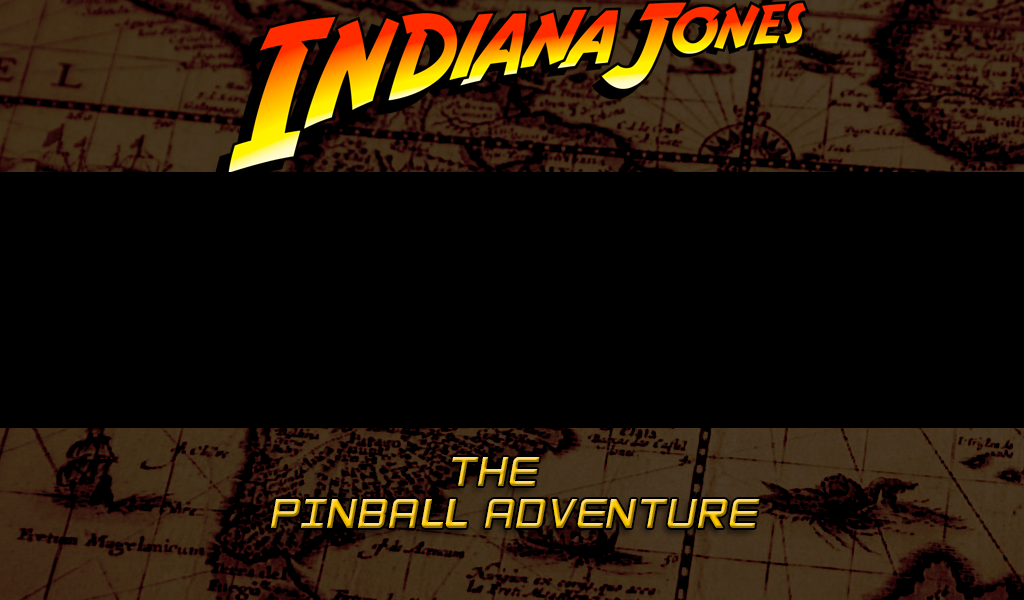
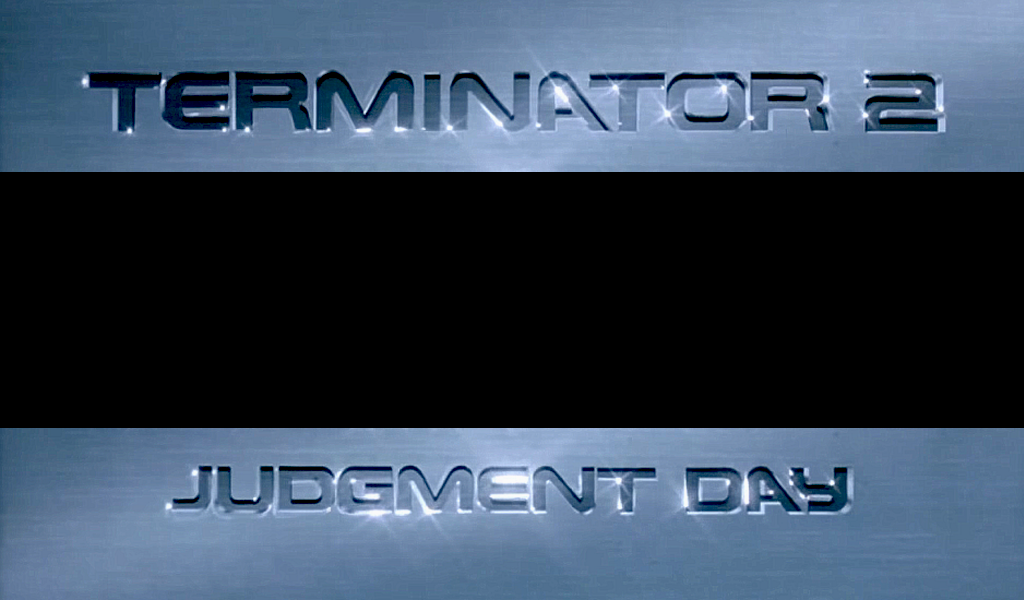
I created a simple PhotoShop template at 1024x600 pixels, with an overlay of 1024x256 pixels so I know where the DMD is going to be.

This way, I can easily drop images in the upper and lower parts and save the image as a PNG file.
Like so

or like so

Part 2: The video
Now to turn these into video files, I use FFMPEG. Since FFMPEG is a command-line driven program, it can be daunting to use.
Luckily, I found a small command line script I was able to adapt for my purposes.
Download and extract FFMPEG. All the good stuff you need is in the "bin" folder.
Now create a simple text file with the following content:
ffmpeg -loop 1 -i in.png -c:v libx264 -t 15 -pix_fmt yuv420p -vf scale=1024:600 out.mp4
Save it in your FFMPEG's "bin" folder, rename the .txt file to .bat, and you're ready. I have included the batch file below as !convert.bat should you need it.
The script needs your image file to be named "in.png", and it will create a 15 second video file named "out.mp4".
(If you need to adapt the script for your own purposes, edit the "-t" value to change the time and "-vf scale" to change the resolution)
Part 3: The PuP-Pack
Now that you have your video, creating a PuP pack that consists of only a DMD screen video is very simple.
Rather than writing a lengthy explanation, I leave you in the hands of this capable gentleman:
Part 4: Recycling
A final little time-saving trick:
Once you have created your first FullDMD Pup-Pack, you can reuse it for different tables. Just copy the folder, rename it to the ROM name of your table (look for "gamename" in the VPX script if you're unsure), and overwrite the video file inside with one of the same name.
Hope this may be of use to someone - if not for my specific circumstances, then perhaps as a starting point to create your own stuff for your own specific needs.
I've included
- the Photoshop template, FullDMD.psd
- the FFMPEG batch script, !convert.bat
- a few images to get you started
Thank you to MrGrynch at the PinballX forums for pointing me in the right direction!