Part 2 – Converting straight lines into curves, working with layers, grouping of elements and global colors
Curves
I start with a rough outline using the Pen tool. This will create straight lines between the “knots”. A knot is created every time you click while using this tool. Next step is to convert these straight lines into curves, if required (therefore Christan Marche’s Art is such a great start, he used a lot of straight lines…) In Affinity you change to the “Node” tool, point to a section of the straight line, click and hold and draw the line in a certain direction. You will notice, that depending where you placed your mouse pointer on the straight line, the curve will have a different shape. Just move the mouse pointer (while still holding the left mouse button) and you will see what I mean. If you release the mouse button, the curve shape is set. But you can still modify it, by repeating what you just did. Even more control over the shape of the curve can be achieved by using the “handles” for that curve. They are created as soon as you convert a straight into a curve (note: Ok, a straight is also a curve from a mathematical point of view, but I think it’s easier to explain this way.) The “base” of the handle is the knot. Whenever you click on a knot, you will see one or two “handles” depending on if the connected lines are straights or curves. You can click and hold on the circle at the end of the handle, move it around and see how the shape changes. When a knot has 2 handles and you align these 2, the shape of the knot will change from a square into a circle. This means both handles are now connected and work together. This avoids sharp corner in round objects.
See video 5
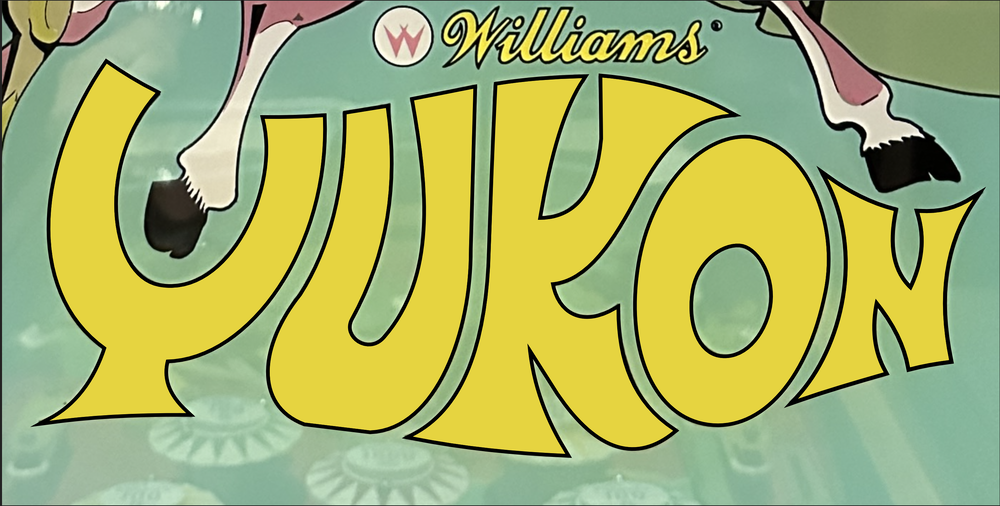
Time for practice. Open the picture “Yukon” in your vector software. You’ll see there is no straight line in the name of the game. Now we’re going to re-draw the letter “Y”. We start by creating straight lines first, then we will adjust these to the actual shape of the letter. It requires some experience to know where to place the knots and how many knots are required. If I want to draw something like a circle (and don’t wont to use the “circle” tool, I usually place 4 knots, so you get a square and then use the node tool to convert it into a circle. Again, this needs some practice!
See video 6
This are already all the basic drawing skills, you need. There are many other tools available, but most of them are for very specific topics. Here some other important topics.
Working with layers
I already explained the basic function of layers. Layers are important since they define the visibility of objects. Every object is basically on its own layer. If you change the sequence of 2 objects in the “layer” section, the visibility might be changed too.
See video 7
Grouping of elements
Some parts of a drawing might be made from many single elements. Let’s go back to the “Yukon” name logo. Yukon has 5 letters. These letters will show up in the “layer” tab as 5 elements. If you click on the first element and push (and hold) the “shift”key and then click on the last element, all the elements between the first and the last will be selected. Make a right click und select “group”. Now all the selected elements are joined in a group called “group”. You can change this name by clicking on it. In this case we will call it “Yukon Logo”. You can open the group by clicking on the tiny arrow and close it again the same way. Groups have the big advantage that you can “switch” on/off many elements at the same time or you can change the position of all these elements at once.
See video 8
Global Colors
Old back glasses were done in silkscreen printing technology. Every single color was printed separately. This also means the no. of colors is normally limited to 10 (+/-). But if you at some old back glasses, there seem to be much more colors. This happens -beside other reasons- mainly due to fading, reflection on the picture, bad lighting etc. Rule of thumb, if two colors look close, the are identical.
To avoid color errors when creating a drawing, we can define the colors very easily. In this example we create a form, fill it with a color, define this color as global color, make some other forms in the same and different color and rename our color and modify it. When you modify a global color, all(!!) elements in this color will take that change immediately. This is a huge advantage when you see your color is not really the right one.
See video 9
An example…
Video 10 shows the ladies of my drawing of the “Star-Jet”” back glass. There will no background picture, since the ladies are just a small part of the complete BG
During this video I will switch on all layers and groups down to top starting with the black background. You can see how the drawing was created. I will also open some groups to show how many elements are in a group. I’m sure you’ll be surprised about the number of single elements of the graphic. And you will also understand that a drawing of a complete back glass takes some hours.
See video 10
These are the basics for vector drawings. The rest is practice, practice and more practice.
If you have any questions, let me know.
Jens

